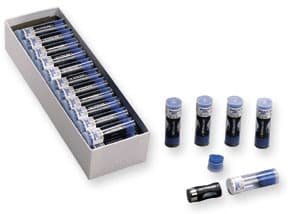
Dissolved Oxygen Membrane Kits
Optimize Your DO Sensor Performance with Broadley-James Membrane Cartridges
At Broadley-James, we know that maintaining optimal dissolved oxygen (DO) measurement is critical to your process. That’s why we offer a full range of DO sensor membrane cartridges – designed for performance, durability, and compatibility across our entire sensor lineup.
- New replacement membrane cartridges
- Compatible options for polarographic Mettler-Toledo® DO Sensors
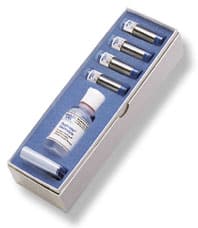
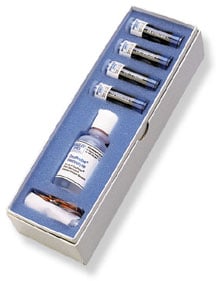
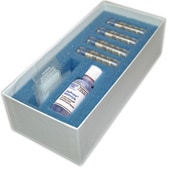
- Available individually, in kits of 4, or bulk priced
Browse All DISSOLVED OXYGEN MEMBRANE KITS


Filter Results
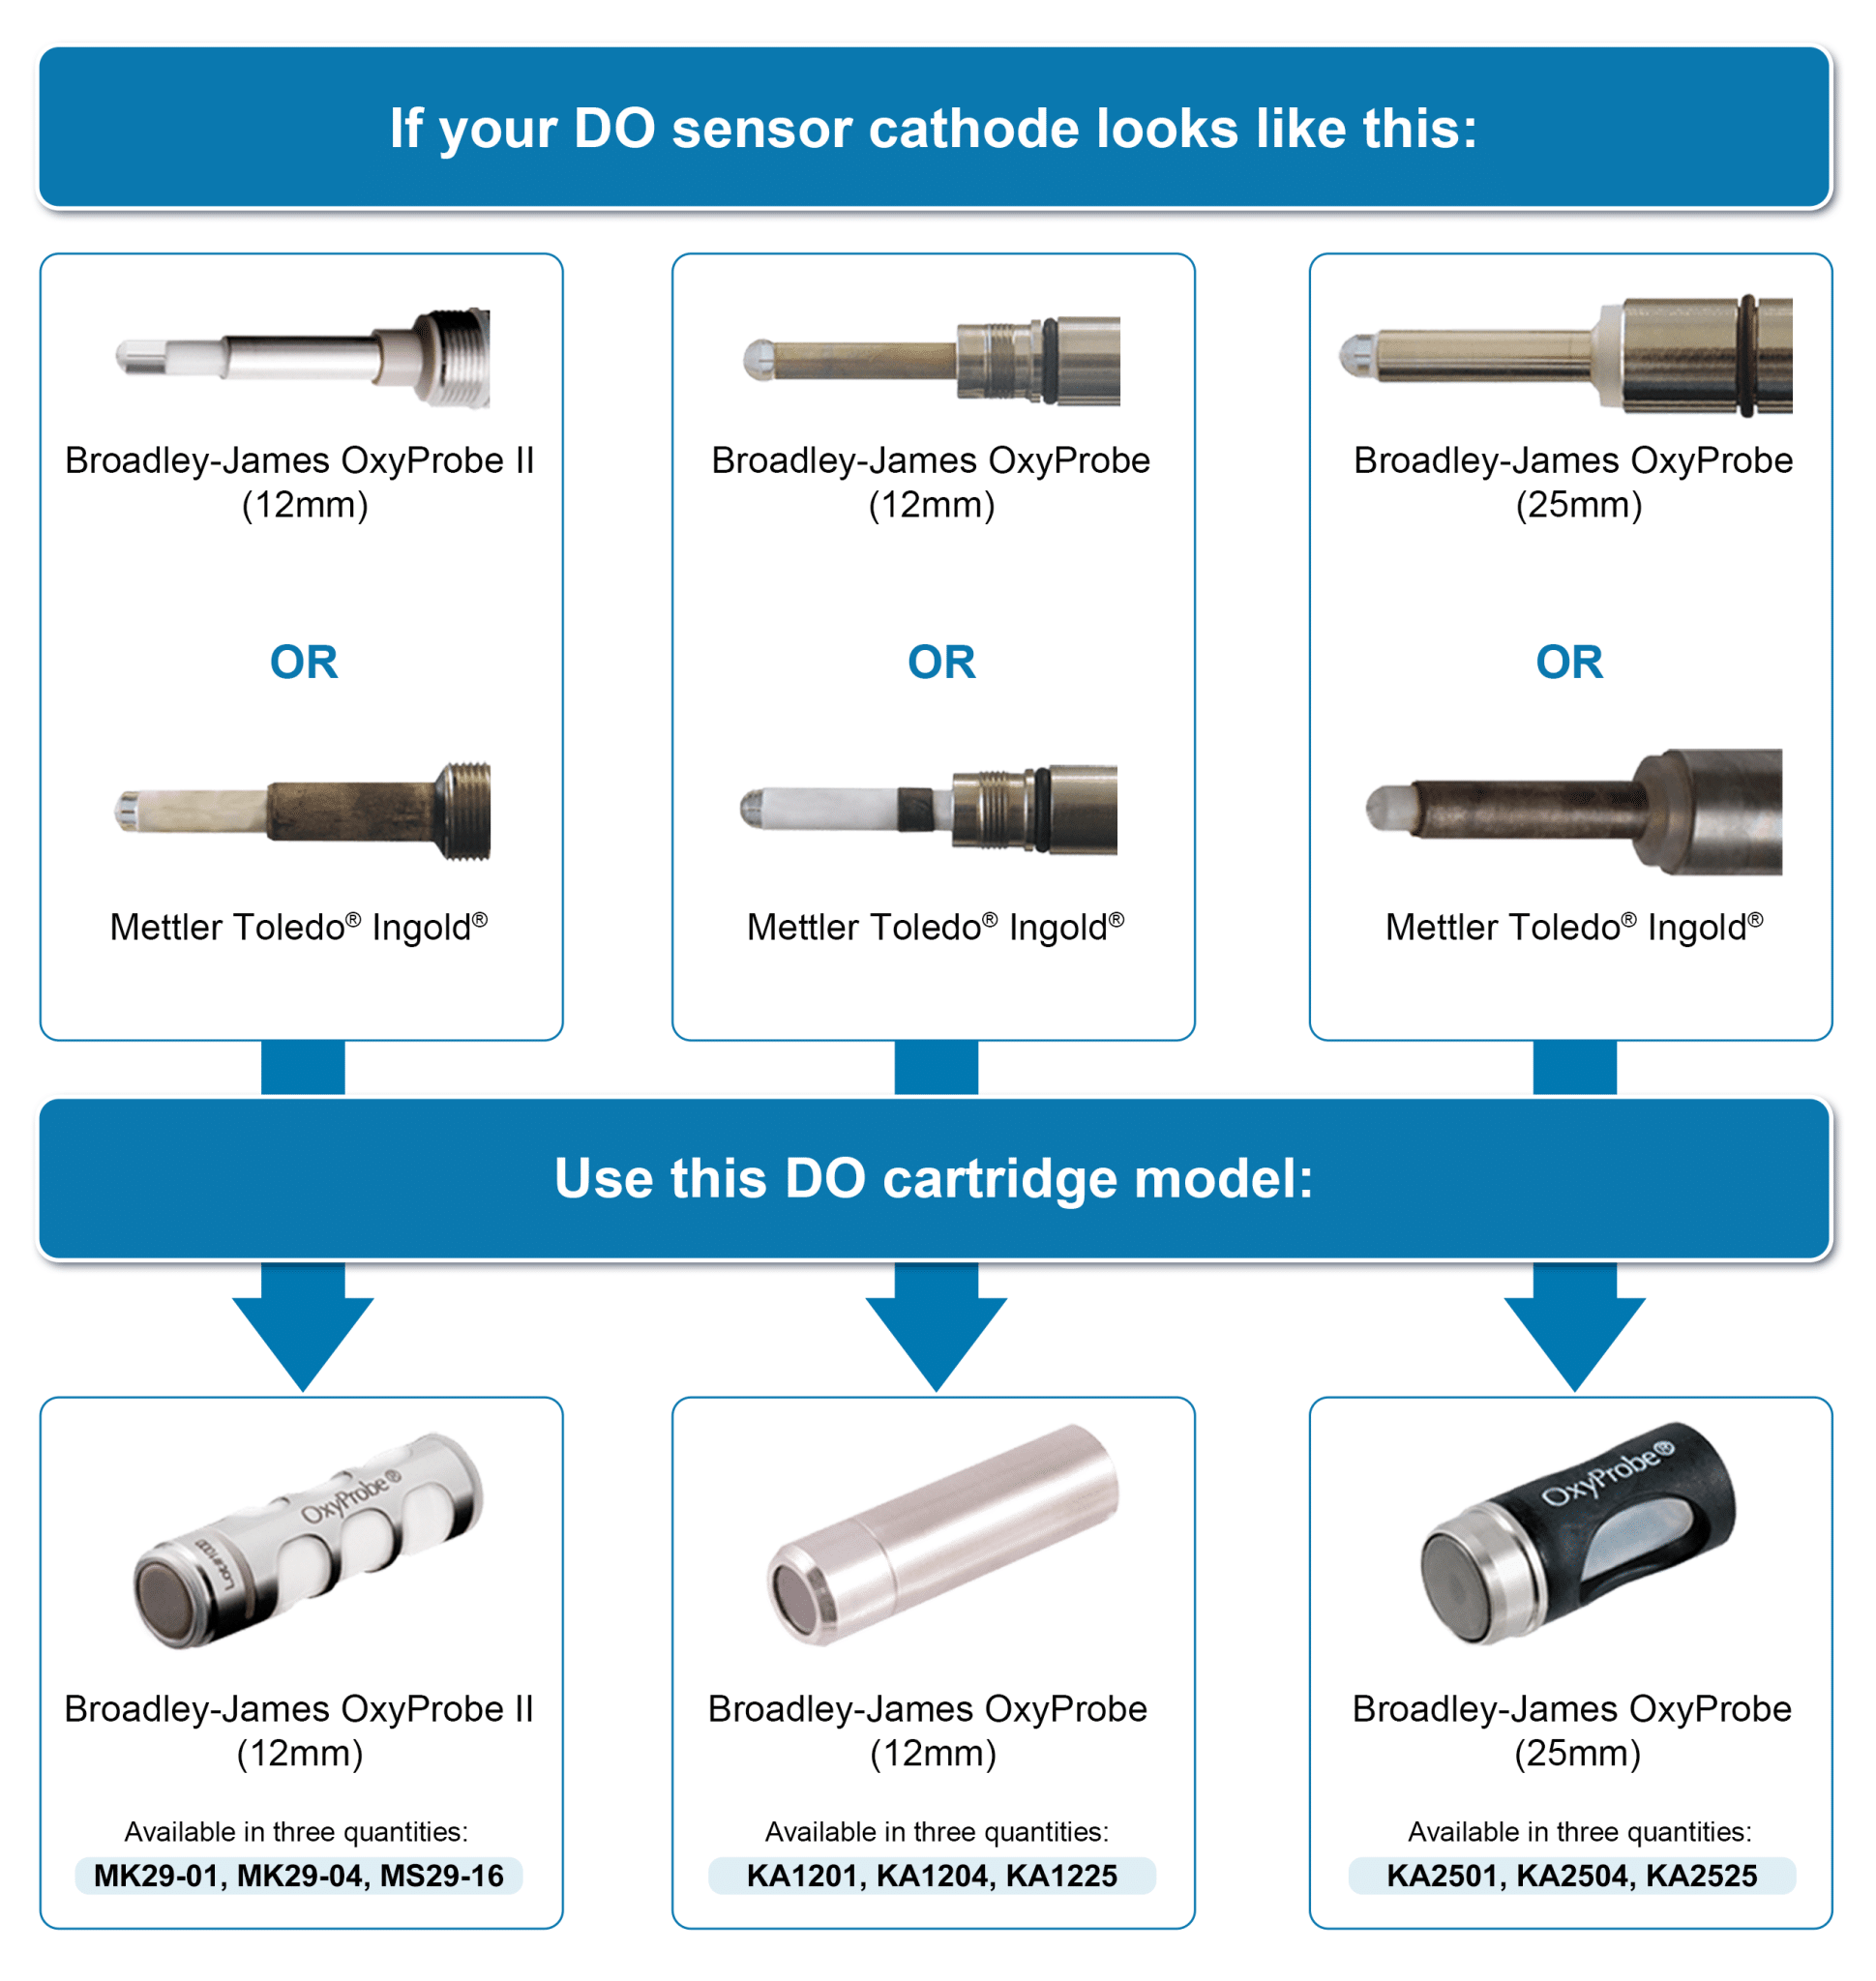
How do I choose the right membrane cartridge for my sensor?
DISSOLVED OXYGEN MEMBRANCE KITS FAQs
How do I change a membrane cartridge on a 12mm DO Sensor?
Step 1
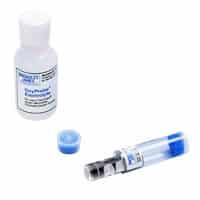
While holding the membrane cartridge upright (with opening up) in one hand, carefully pour the electrolyte solution from the bottle into the cartridge until level is approximately 1/8″ (3 mm) from the top edge of the cartridge. Remove any entrapped air bubbles by gently tapping on the side of the membrane cartridge sleeve. Try not to spill any of the electrolyte solution and be certain to wipe off any excess electrolyte from the outside surface of the cartridge sleeve with a clean tissue.
Step 2
In one hand, grip the membrane cartridge, which has been properly filled with electrolyte solution, by the thumb and fingers while holding the sensor assembly with the other hand as shown.
Caution:The use of protective glovesand eyewear is recommended throughout the membrane cartridge refill and installation procedures.
Step 3
Gently slide the membrane cartridge over the cathode / anode assembly until the cartridge threads seat against the mating threads of the sensor assembly. Thread the membrane cartridge onto the sensor assembly until there is a flush fitting between the cartridge sleeve and the tube. With a proper fit, the sealing o-ring should no longer be visible.

Note: The use of protective gloves and eyewear is recommended throughout the membrane cartridge refill and installation procedures.
Step 4
Rinse the front portion of the sensor assembly with clean tap water and blot dry with a clean tissue to remove any excess electrolyte. The sensor is now ready to be polarized.

Note: Carefully inspect o-rings for any physical damage or excessive wear. Replace as needed or if there is any doubt as to their condition.
How do I change a membrane cartridge on a 19mm and 25mm Sensor?
Step 1
While holding the membrane cartridge upright (with opening up) in one hand, carefully pour the electrolyte from the bottle into the cartridge until approximately 75% full. Remove any entrapped air bubbles by tapping on the side of the membrane housing. Try not to spill any of the electrolyte and be certain to wipe off any excess electrolyte with a clean tissue from the outside surfaces of the cartridge.

Caution:The use of protective gloves and eyewear is recommended throughout the membrane cartridge refill and installation procedures.
Step 2
In one hand, grip the membrane cartridge, which has been properly filled with electrolyte, by the thumb and forefinger slots while holding the sensor body with the other hand as shown.

Step 3
While compressing the membrane cartridge with the thumb and forefinger, slide the cartridge over the anode / cathode assembly until the cartridge seats against the conical gasket. Release the pressure from the thumb and forefinger. Rinse lower portion of this subassembly with DI water to remove any excess electrolyte and blot dry with a clean tissue.

Step 4
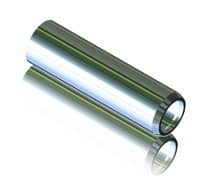
The sensor body subassembly with the membrane cartridge in place is now ready for the installation of the stainless steel sensor sleeve.

Step 5
Slide the stainless steel sensor sleeve over the membrane cartridge, being careful not to knick the o-rings. Be certain that the mating threads of the sleeve and sensor body are free of any dirt or debris.

Step 6
Thread the stainless steel sensor sleeve onto the sensor body in the direction shown by the arrow. Be certain that the sleeve is flush with the sensor body so that no o-rings are visible. Do not overtighten. Hand tight is all that is necessary.
Note: Carefully inspect all o-rings and the conical gasket for any physical damage or excessive wear. Replace these items as needed or if there is any doubt as to their condition.
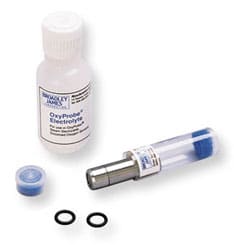
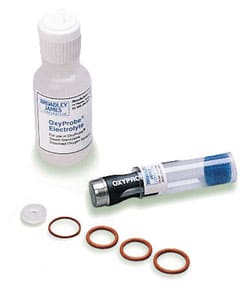
How do I change an OxyProbe II Membrane Cartridge?
 There are two distinct types of 12 mm DO sensor cartridges: one for the traditional style sensor (for example, OxyProbe D140) and one for the newer style OxyProbe II sensors. Please make sure you received
the right membrane cartridge for your particular sensor design. The old and new membranes are not interchangeable and cannot be installed on the wrong sensor type. However, once opened, they cannot be
returned or re-sold so be sure to check the box label before opening it. If you have any questions, feel free to call us at +44 (0) 1525 862518.
Important Notice:
The O2 electrolyte has an alkaline pH value of 13. Contact of electrolyte with the skin, especially the mucous membrane of the eyes, should be avoided. If such contact occurs, rinse the affected area thoroughly
with water. Get medical attention if adverse signs appear. An MSDS is available for download from our website if desired. Great care should be exercised when handling the sensor and changing the membrane. The internal glass cathode is very fragile and any impact can cause a crack or fracture which can permanently damage the sensor.
Great care should be exercised when handling the sensor and changing the membrane. The internal glass cathode is very fragile and any impact can cause a crack or fracture which can permanently damage the sensor.
Because contact with the electrolyte is very likely during exchange of electrolyte or membrane body, the use of protective gloves and eyewear is recommended.Membranes are typically replaced after a single use in high-value processes, or after multiple uses in R&D, university, PD labs, etc. How many uses you might expect depends upon the process conditions. Visit our website FAQ section for more detailed information.
Membranes are typically replaced after a single use in high-value processes, or after multiple uses in R&D, university, PD labs, etc. How many uses you might expect depends upon the process conditions. Visit our website FAQ section for more detailed information.
Membrane Replacement Instructions
To replace the used membrane with a new one, or to remove, clean, and re-install the existing membrane, please follow these procedures:
- 1. Unscrew the cap sleeve from the shaft and carefully remove it from the sensor. Place the sensor down nearby in a safe place where it will not roll off or bump into anything that might damage the fragile glass tip of the cathode.
- Usually the membrane cartridge remains in the cap sleeve when the sleeve is removed from the sensor body. Tip it over and pour out the old electrolyte solution (remember it is pH 13). Carefully push on the flat face of the membrane with your finger or thumb to dislodge it from o-ring holding it in place within the cap sleeve. The cartridge should slide free of the cap sleeve.
- If re-using the old membrane, rinse it out with DI water using a squeeze bottle or other device to ensure all of the old electrolyte and byproducts are removed. Refill the cartridge slightly with OxyProbe electrolyte solution. Rinse it around and pour it out to flush out any remaining DI water.
- Check the o-ring on the sensor body, just above the threads where the cap sleeve attaches. If installing a new membrane, replace the o-ring with the one supplied with the membrane. If it is a re-use, inspect the o-ring and replace if necessary.
- Fill the membrane halfway with electrolyte solution, and give it a “tap” or “flick” of your fingernail to make any large bubbles rise to the top. *
- While holding the sensor in a vertical position, slide the membrane cartridge over the cathode assembly. The excess electrolyte will be displaced and this should be patted dry with a paper towel, kimwipe, etc.
- Take the steel cap sleeve and carefully slide it over the membrane cartridge, threading it onto the body until it is completely flush with the body.
- Rinse off any excess electrolyte that may have spilled, and dry the sensor with a paper towel, kimwipe, etc.
- Each time the membrane is changed the sensor should be polarized and calibrated before use. See the instruction manuals for your particular sensor and instrument, or visit our website “Documents” link.
* NEVER fill the membrane with electrolyte while it is lodged inside the cap sleeve. This causes excess electrolyte to be captured inside and can result in the rupture of the membrane during the autoclave cycle.
How do I choose the correct membrane cartridge for my dissolved oxygen (DO) sensor?
